New year, same inbox…oy! The Inbox Battle - have you conquered it or are you still fighting to get control back? When you have had an email account for a long time, it seems more and more unrealistic to get to inbox 0 (or at least 0 unread emails). Well it’s a new year...in fact, a new decade! It’s time to win that battle of You vs. the Inbox once and for all. Here are 7 strategies that you can implement to get your inbox looking more lean. And trust me, it’s possible. Here’s a view of my inbox for proof:

1. Search for specific emails and delete them in bulk.
The first thing you can do is go on a deleting spree. I like to do this periodically even on emails that have been read. With Gmail, you can conduct various types of searches to find specific emails that you want to delete. I generally either search for a company name if I’m searching for promo emails, a specific “from” email address or just a general keyword.
When the results appear, you have the option to select all messages that came up in the search results. Just select all then delete! I usually skim through the email results to see if the correct emails appeared after the search. Sometimes this doesn’t happen, but I still select all messages then deselect the ones I don’t want to trash before bulk deleting the rest.
Just enter search terms in the search bar at the top of Gmail, click the “select all” checkbox on the top left then click the trashcan to delete them all.


2. Take the extra step to unsubscribe from lists you no longer want to be a part of.
While you’re over there going on your deleting spree, you may as well take the extra second to unsubscribe from all of those newsletters you signed up for that you don’t even read. Why continue receiving emails from someone that you don’t read or are no longer interested in? Save space in your inbox and just break up with them.
3. Use a different email account for newsletter subscriptions.
If you’re set on wanting to receive certain newsletters but you don’t want them mixed up in your main email account, create a separate email account specifically for newsletters, company sales, promotions, etc. This way, you can still receive the info but won’t be distracted by it when you open your inbox.
Some people like to have their mailbox set up with different tabs, one being a promotions tab. This is another way to separate newsletters from your regular emails if you don’t want to have a separate email dedicated to promo.
4. Create labels
One of my favorite ways to keep my mailbox organized is by creating labels for storing certain emails in. When you create a label in Gmail, it also doubles as a folder so you will see it listed on the left panel where your other folders are. For example, I have a label for all of my sales activity, brand collaborations, client scheduled calls, receipts for services that I subscribe to, and more. I like to keep things organized and separated outside of my inbox so the inbox isn’t so crowded. You can easily add labels to emails in your inbox to make it easier to know what they are about. Labels can also be applied in bulk which is a huge time saver.
To create a label, open an email and click the label icon at the top menu of the message then select “Create New”. You can then name your label and determine if it should be nested under a parent label.

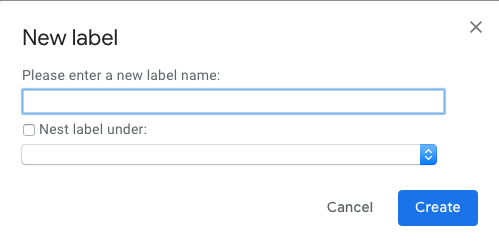
If you want to nest the label:

5. Create rules by filtering emails.
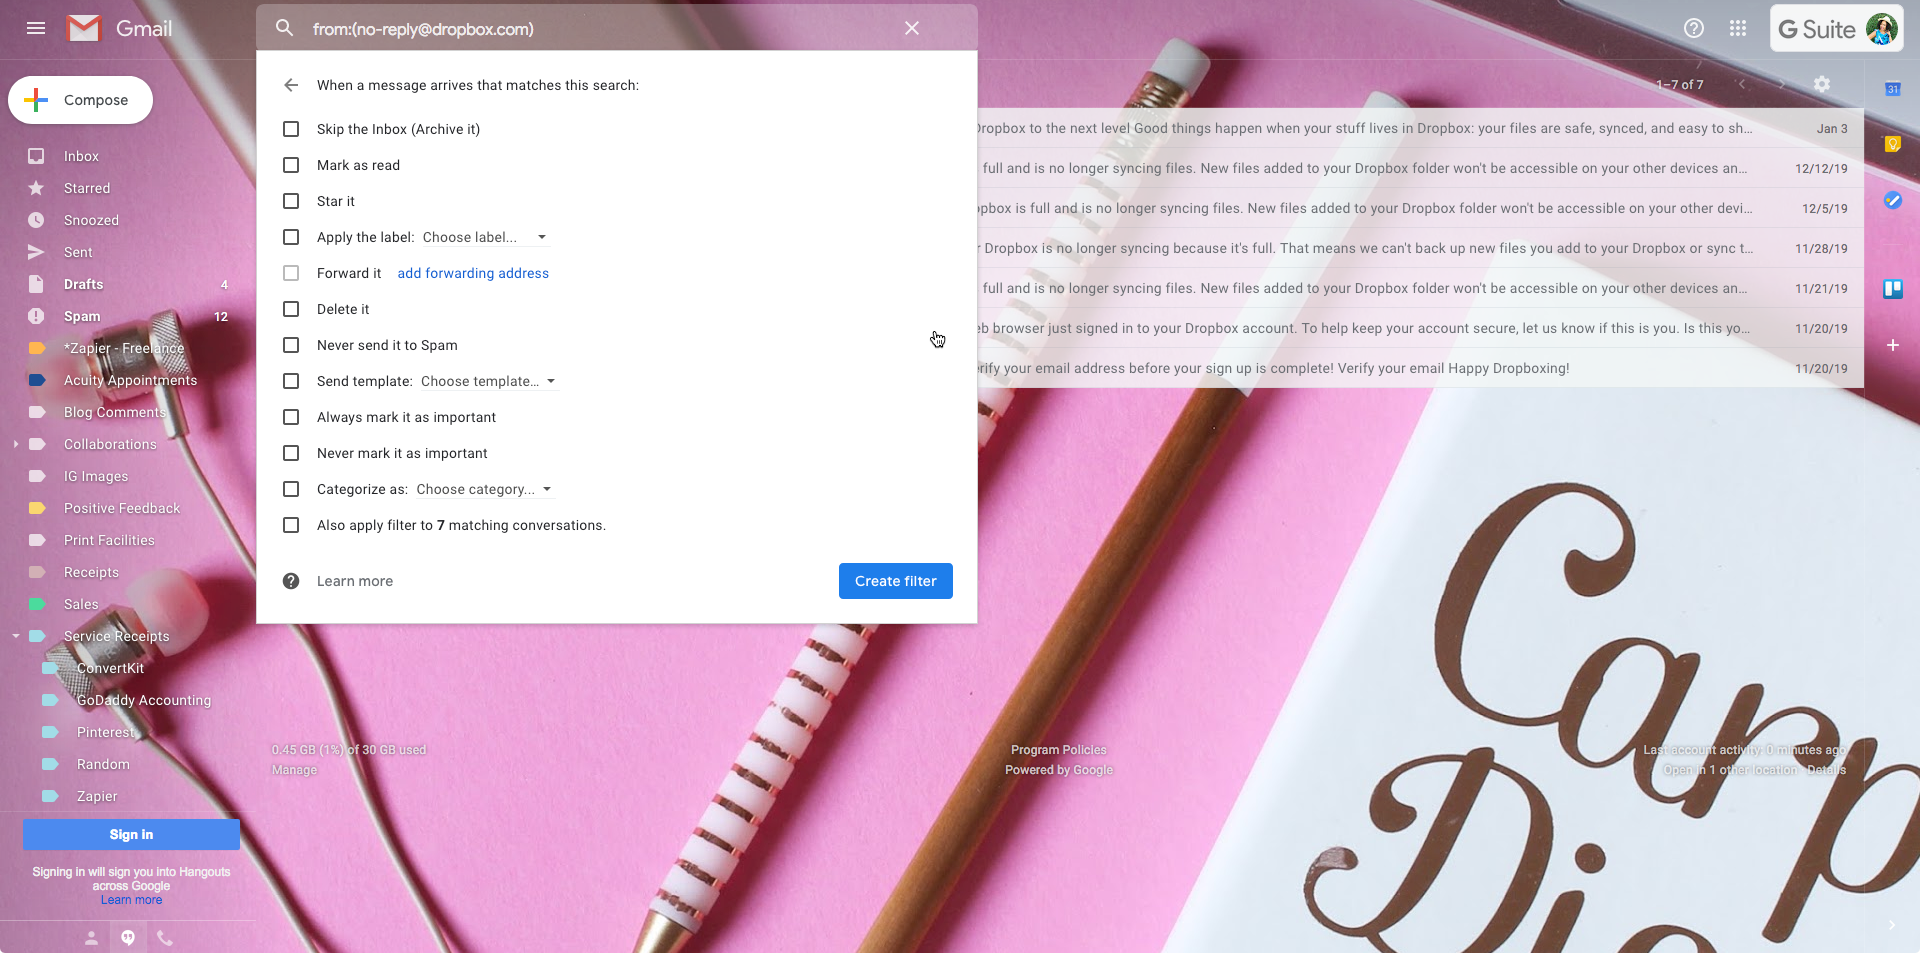
Another way to keep your inbox under control is to create rules so actions happen to your emails without you having to view or move them on your own (hello, automation!). I love to create rules for my mailbox at my day job and also for my business email account. You can easily set rules for emails such as adding a label automatically, moving emails to folders and archiving (i.e. skipping the inbox) messages. One example of how I use rules is whenever I receive a receipt from a service that I subscribe to (like my Zapier monthly plan), the rule marks the email as read, archives it and moves it to my Zapier receipts folder. I don’t need to see emails every time I receive a receipt for a monthly service plan, but I do need to keep them for reference later (example, tax time). By creating this rule, I no longer have an inbox full of random receipts scattered throughout and mixed in with other unrelated emails.
To create an email filter for email automation, open the email, click the three dots for more info at the top menu of the email, click “Filter messages like these” then enter your search criteria. When complete, click “Create Filter” and you’re done! You can also apply the action you specified to the existing emails that meet the filter criteria once you save the filter if you’d like.


6. Use a free email roll-up service.
A couple of years ago I caught wind of a company called Unroll Me. If you have never heard of them, it is a free service that will roll up emails of your choosing into one daily email, so rather than having 15 emails in your inbox from various bloggers, companies, etc. you just receive one email containing all of the emails for you to view! You determine the emails you want to roll up, keep in your inbox and even unsubscribe from. This has been such a great way to keep my inbox in order and minimize the clutter/noise. The only thing you have to do to enjoy this free service is post about them on social media one time.


7. Adjust the view of your inbox to see only what you want to see.
There is so much you can do with Gmail! You can customize the view of your inbox to only see what you want to see. For example, I want to open my inbox and only see new emails (i.e. unread emails). I also want to see my positive feedback filter that I created so I can always have a place to quickly reference great things people have said about my products, emails, services, etc. This is a great way to start your day on a positive note! Here’s my inbox:

As you can see, I have no unread emails; I make it a point to keep unread at 0 by implementing all strategies in this post! My remaining emails that have not been deleted are available to view after scrolling past the Positive Feedback and Unread sections and the best part is that the emails are collapsed so you can only view them if you click the arrow to view all (if there is no arrow to drill down, it means there are no emails matching your criteria)! This is great visually because you will not see a bunch of emails as soon as you open your inbox.
You can get very specific with what you want your inbox to display. Just click the gear on the right, click “Settings”, click the “Inbox” tab, select “Priority Inbox” for the Inbox Type then select what you want to see and in what order by clicking the arrow on the “Options” button.


Tip: If you do not use Gmail for your blog/business email currently, I encourage you to consider making the switch! And not just to a standard old Gmail account, but to G Suite which includes a custom email address using your domain name, double the Google Drive storage from the free account and access to more advanced features of their apps and tools. AND it’s only $6 a month! Check out more info here.
Related Post: How to use G Suite as a Blogger
By implementing these seven strategies into your email account, you will start having a better handle on your inbox and your inbox stress level will drastically decline!
